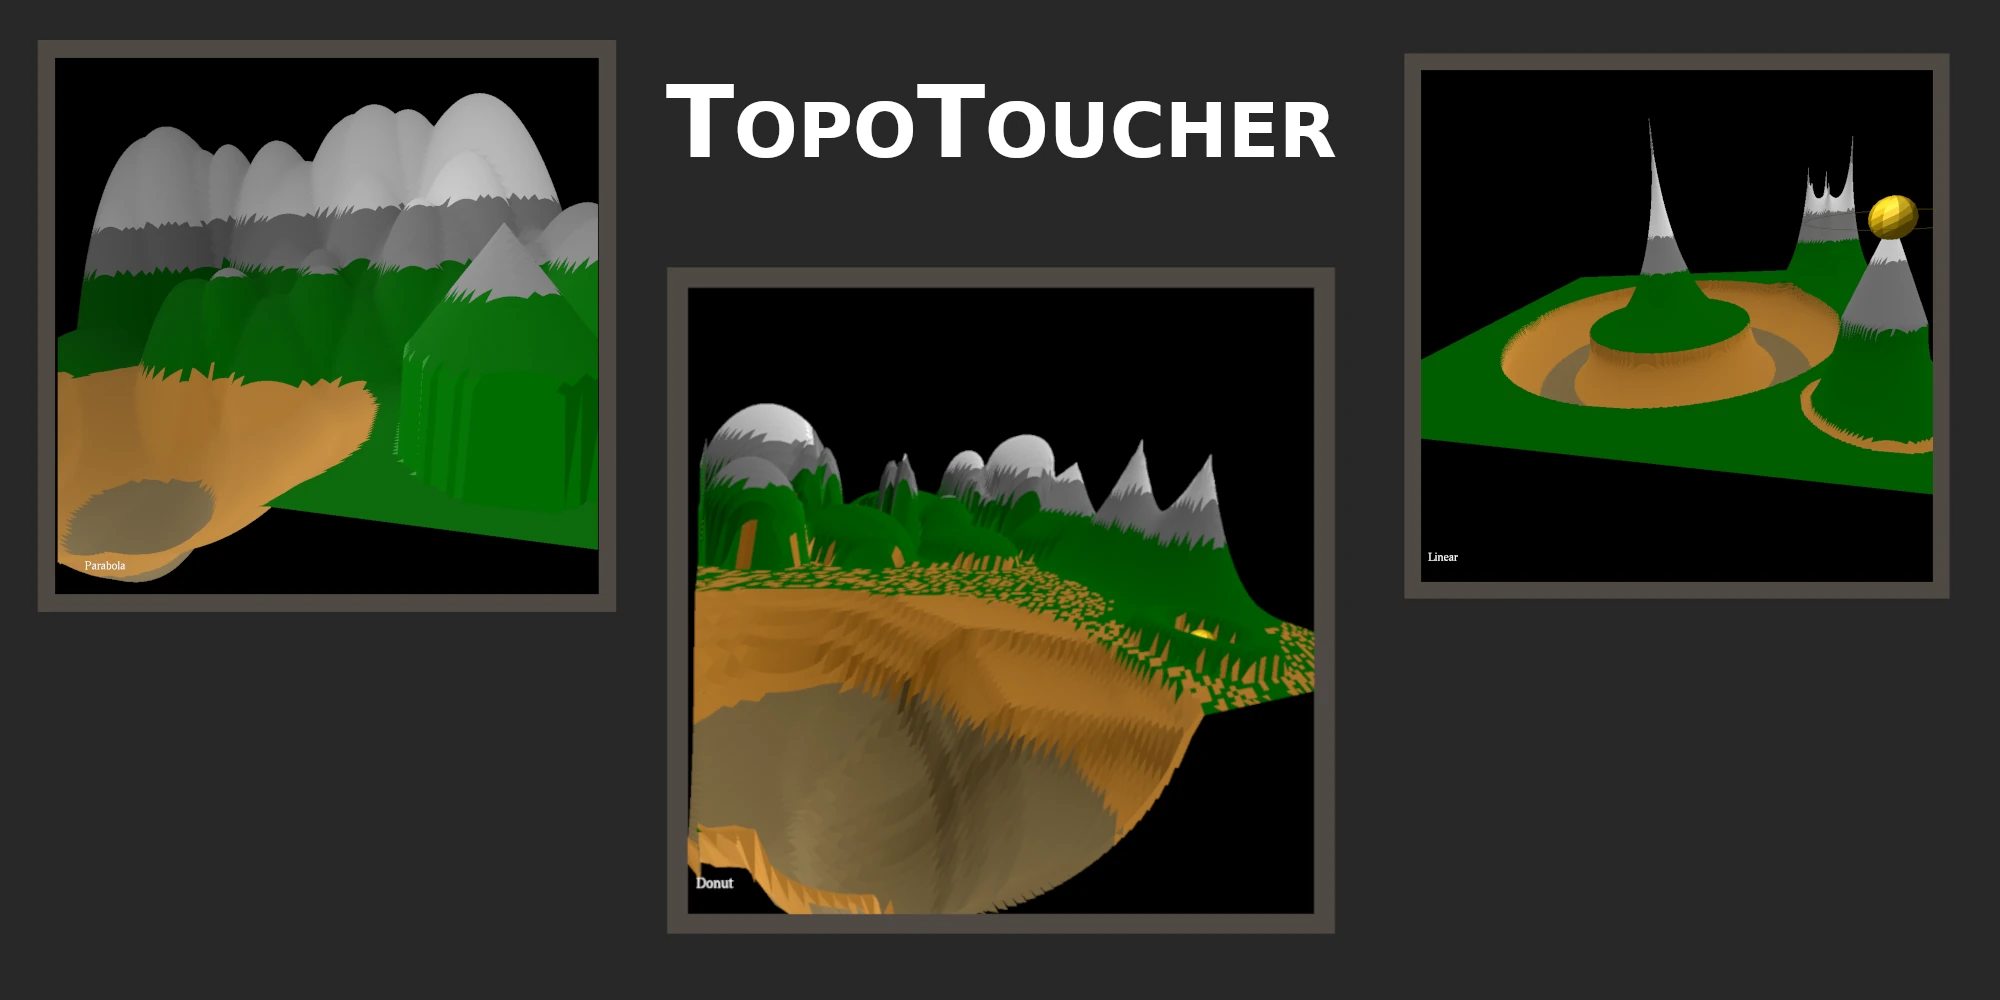
TopoToucher is a heightmap sandbox program that gives you the power of pushing points on a grid up and down to create interesting terrain visualizations. It is open source on Github, and the readme file overviews build instructions, controls, main features, and a quick summary of the most important functions in the program.


On Heightmaps
Heightmaps are an amazing and efficient way to store a whole 3D model as a single image. Acres of digital topography to explore, all stored on two dimensions! As I learned more about heightmaps and how they are commonly used, I had a few questions about why they are used how they are.
Why ◩? How about ⛝?
When heightmaps are rendered, the top-down wireframe view looks like a grid
with a single slash across each square (in order to turn them into triangles
for easier rendering by the GPU). I had a problem with that. Imagine a 3 x 3
grid of vertices. Now imagine a diagonal line of those vertices raised above
the rest. With our 5-line squares, there will either be a single raised edge
running along those raised vertices, or three peaks with lines coming down from
all sides of each one.
What if, instead of two triangles, we stuck a vertex in the center and made
four triangles, each pointing at the center? And that center point can be
interpolated between the four surrounding points! This would result in higher
detail heightmap meshes, and everything would be uniform, no matter which way
you draw it!
Unfortunately, what you’d be sacrificing there would be performance. And a whole
lot of it. It’s not just the fact that you’d be doubling the number of faces in
the mesh, but you’d be sacrificing the power of triangle strips. GPUs are very
good at doing one small thing many times, so one of the easiest ways to build
meshes is with triangle strips. This technique is performed once on each row and
includes remembering the last two vertices and adding another one to create a
new triangle, like so: ◩◩◩◩◩◩. Imagine adding the vertices to a list in a row,
doing one top vertex, then the bottom one, moving over and doing the top one,
and so on.
Why Black and White?
“Why are heightmap images always in black and white? Why not use the full range
of RGB to store higher detail height differences? Aren’t we wasting space?”
When building or taking apart a heightmap image, each pixel is made of a red,
green, and blue value. In a grayscale image, those red green and blue values are
exactly the same. So why not use the extra bits to store more detail instead of
copying the same value 3 times?
As it turns out, pictures are smart. Most popular image formats, including PNG,
JPEG, and BMP are all optimized to store grayscale images without any color data
– just the shade of gray – and therefore, save a lot of space compared to a
full color image. When you load the image up in a program however, it must
adhere to the data structure it is being loaded into, and the program copies the
shade of gray to each color channel.
Features
This part is also written in the Github Readme file so if you’ve already read that, skip to the difficulties section.
Rolloff Functions

An image of the currently implemented falloff equations is shown above. You can go to the interactive Desmos graph by clicking on the image or clicking here. The x value represents the distance from the currently selected vertex, and the y value represents the value to be added/subtracted from that vertex. In TopoToucher, the currently selected rolloff function can be found in white in the bottom left corner of the screen.
Lighting
TopoToucher uses a small ambient light, and an orbiting sun lamp to show
variation in topography. No user input is required to utilize these lights, and
the sun orbits automatically.
There is the option of enabling Depth Cue, using the right click context menu.
Turning on Depth Cue enables some OpenGL Fog (whose parameters are defined as
constants at the start of main.cpp) which darkens the scene a bit, but will
make your angles a bit more prominent. Below are two images showing a map with
depth cue turned off (left, default) and turned on (right).


Difficulties
As with all graphics projects, there was a lot of back and forth changing values and making things look right on screen. Beyond that, here are a few areas that caused me some stress when working on this project.
Aligning Vertex Location Equations
My biggest difficulty when building the program was making sure the vertex
positions came out the same from building of the heightmap mesh, to the
positioning of the cursor sphere, to moving the cursor sphere, and the modifying
of the heights in the MoveVert function. MoveVert is probably the simplest
example, because we are directly referencing indices in an array. In building
the heightmap however, the positions must be scaled and recentered, and
different height values must be collected in order to compute the vertex’s
normal vector. When drawing the sphere and influence circle, more translation
and scaling is needed.
I overcame this issue by being more verbose in my calculations, creating extra
variables to mark significant points even if they were only used in calculating
the next step, and writing down which operator (/ or %) controlled the x axis
and y axis of the heights array.
Vertical Offset of Text
One bug I ran into and was unable to solve, was positioning relative text at different y positions. Under the right click context menu there is an option to enable axis labels, which displays the movement controls around the cursor. Showing the vim keybindings around the grid to signify directional movement was fine, but when I tried to draw W above S above the sphere to signify up and down, they were drawn over each other. I triple checked my math and I still don’t know what was going wrong, so I fixed it by displaying “W/S” over the sphere instead. If it works it works!
Future Plans
This project has massive room for growth. From beautifying to feature adding, and a whole lot of optimizing. Here’s my to-do list!
Shaders
Falling into the category of both beautifying and optimizing, one thing I need
to do is move some implementation over to shader code. A fragment shader would
do the terrain coloring much better (and even lay ground for some cooler
stylized textures), and the program will be made much more performant when the
heightmap displacement is performed and stored on the GPU with a vertex shader.
In order to keep the traffic to a minimum, the heightmap itself would be stored
in VRAM.
I am currently taking a class specifically about GLSL shaders, and I plan to
make these integrations to TopoToucher be my final project for that class.
Skybox
The matte color background this program has is pretty boring. I’d like to create a skybox (or in OpenGL terms: cubemap) texture. I’m not sure if I want to try to procedurally generate one or just design one or find one online yet, but regardless, one is sorely needed.
BMP Import/Export
This is the to-do item that transitions this program from being a fun toy to an actual tool. The ability to export a map you’ve created in TopoToucher as an image, and render it as a heightmap somewhere else shouldn’t be too hard to implement. I have worked with bmp images before as textures in other graphics projects and I believe they will be the easiest to write and read from.
Click to Select Vertices
Originally, this was a core feature of the project proposal and part of the main scope. After much time spent on the alignment of the vertex location equations, failing to get my raycast collision equations working properly, and a deadline on the horizon, this feature was moved to the backlog. The current implementation of TopoToucher uses Vim keybindings to move a cursor around the grid of vertices, but this isn’t very quick and can be confusing. I plan on implementing the Möller–Trumbore intersection algorithm with the heightmap triangles and the mouse click ray vector.
Custom Color Layers
Sure you can go in the code and change values to make it look different, but I’d like it to be more user friendly than that. Maybe a config file that shows height to color values in an easy to read way. I also think it would be fun to add a bit of a particle system to make it more interesting, where it would randomly spawn patches of trees or flowers in the green areas, or rocks up the mountains.